
Cleaning your hamster's cage is an essential part of being a responsible pet owner. Not only does it ensure your hamster's health and well-being, but it also keeps their living space safe and hygienic. However, cleaning a hamster cage can be a daunting task, particularly for new pet owners. In this article, we will guide you through the process of effectively cleaning a hamster cage, providing tips and tricks along the way.
The Importance of a Clean Hamster Cage
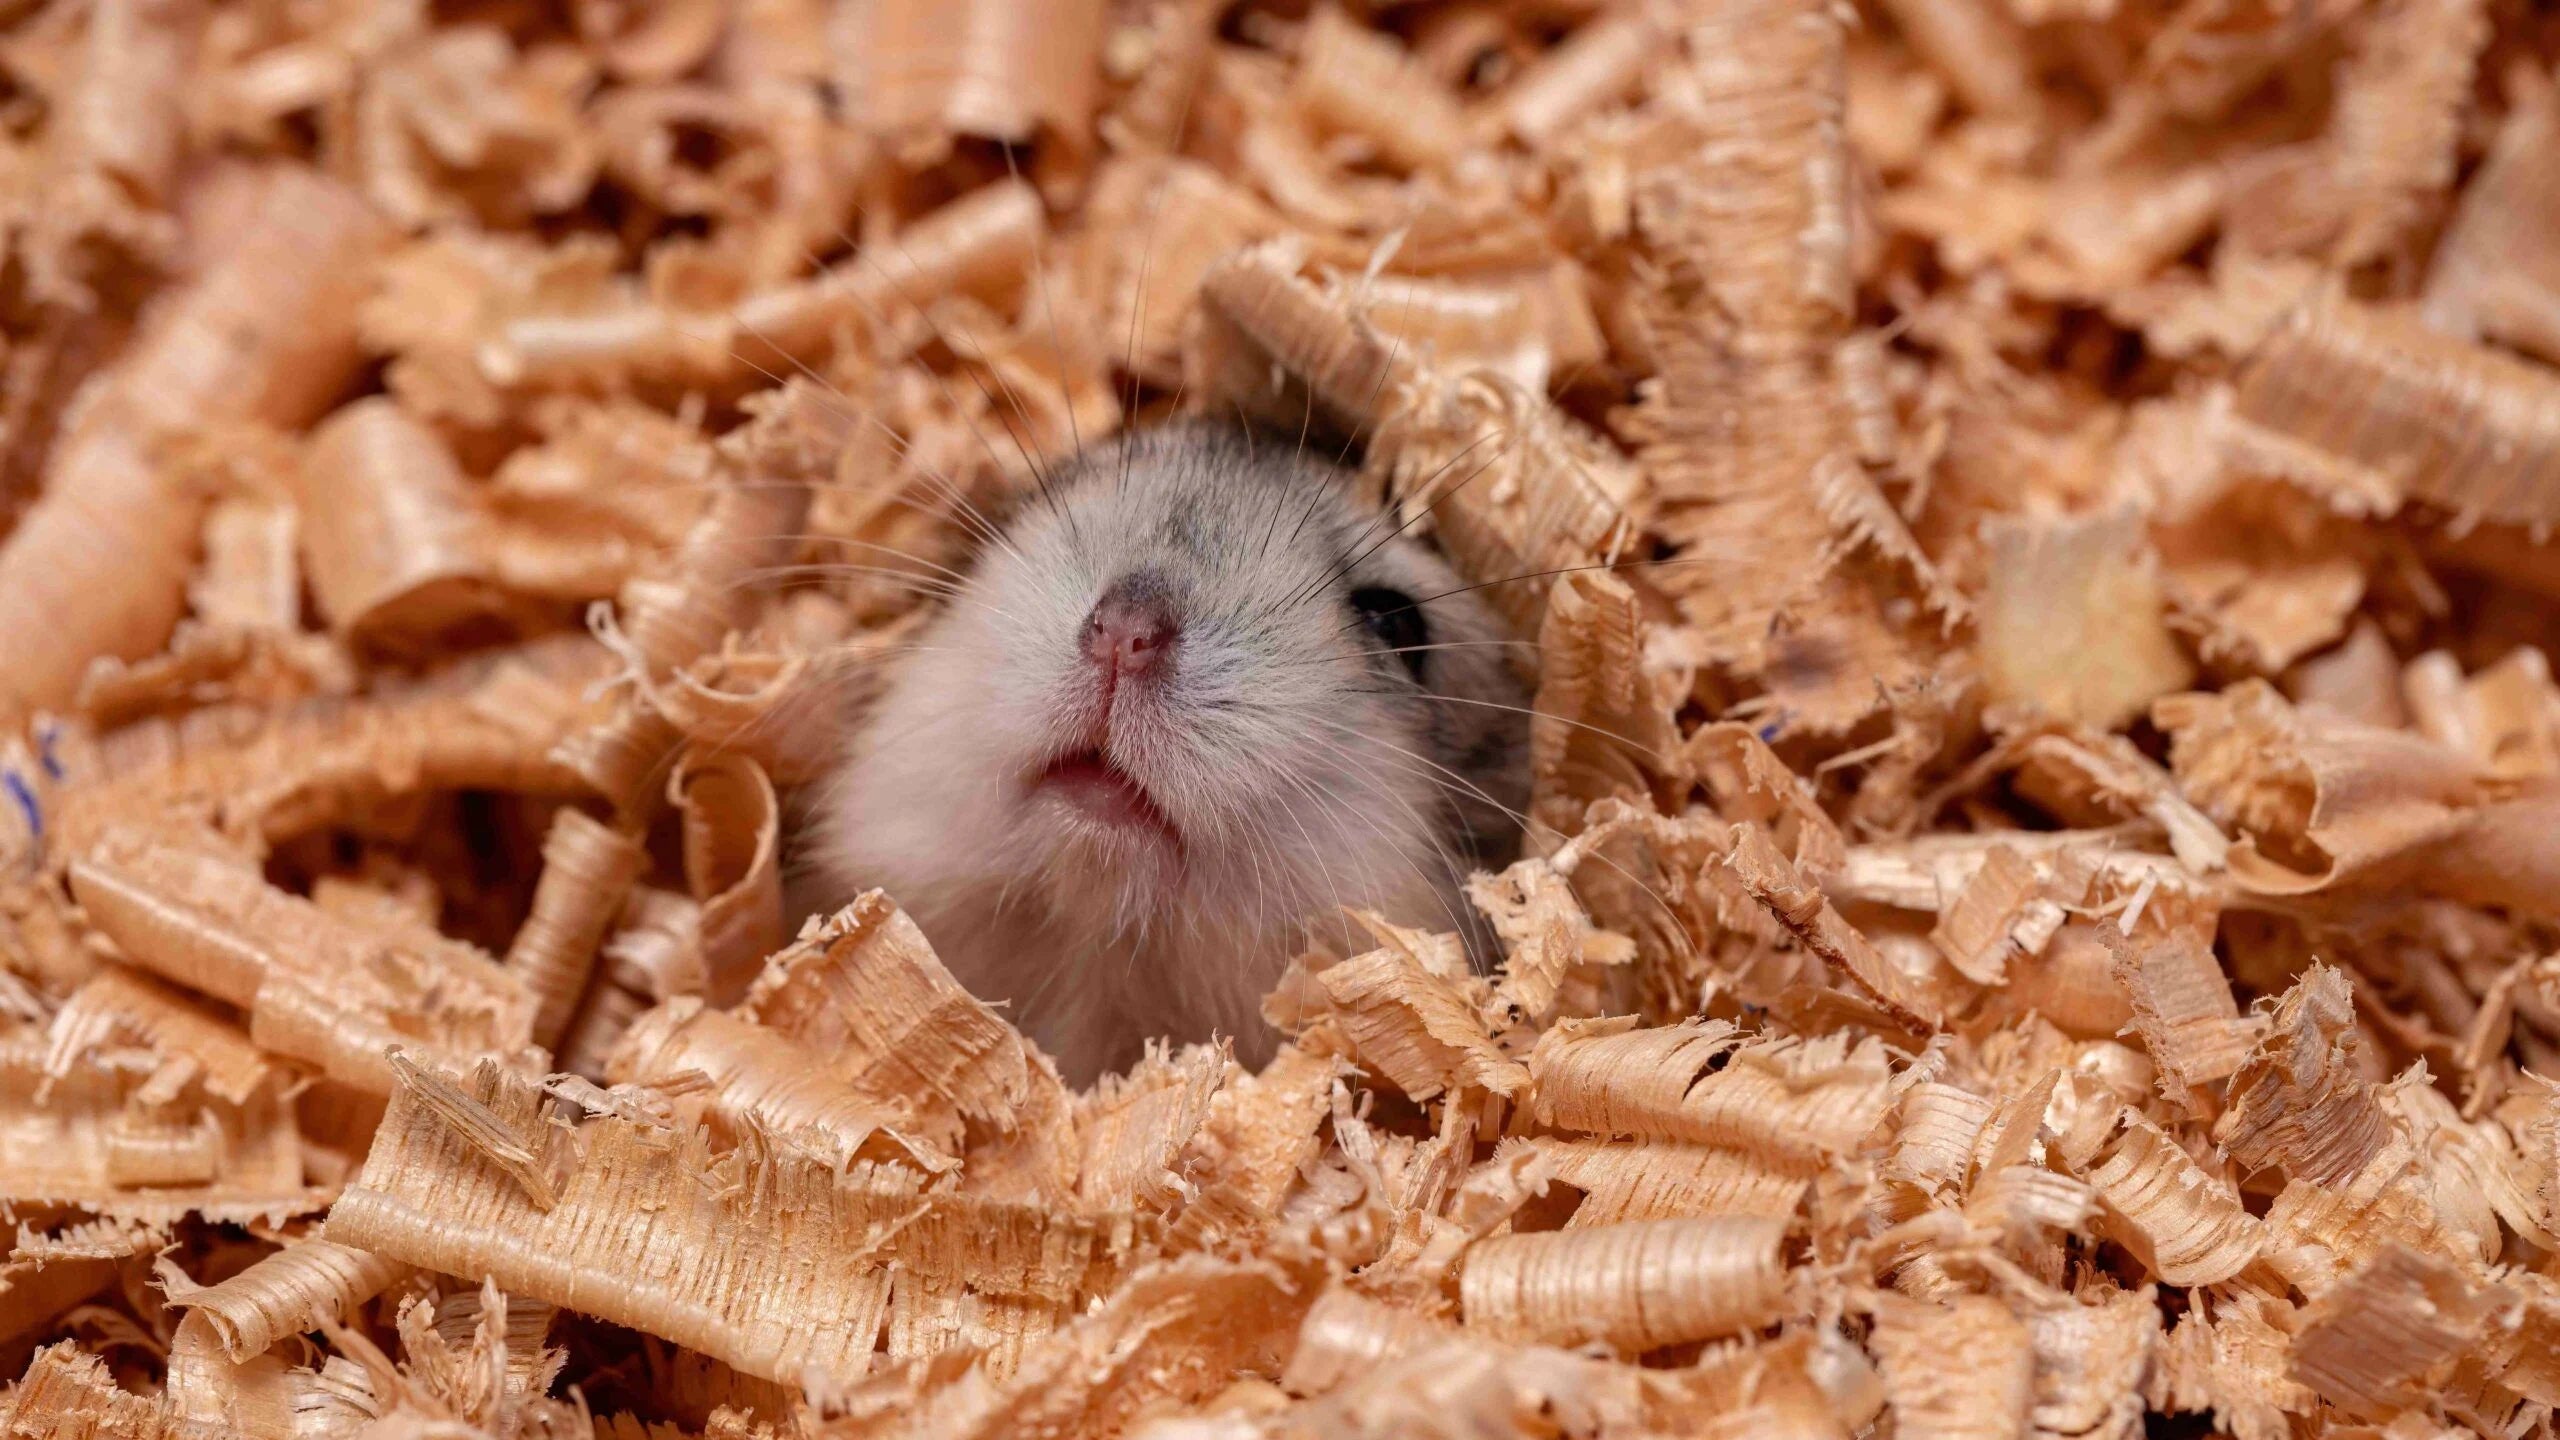
Before diving into the steps of cleaning a hamster cage, it's crucial to understand why it is essential to do so regularly. Like all animals, hamsters are susceptible to illness and disease if their living environment is unclean. A dirty cage can lead to bacterial or fungal infections, respiratory problems, and other health issues for your hamster. Furthermore, a messy and smelly living space can cause stress and discomfort for your pet, leading to behavioral issues. Therefore, keeping your hamster's cage clean is crucial for their overall well-being.
Supplies Needed for Cleaning a Hamster Cage
:strip_icc()/hamster-cage-for-your-syrian-hamster-1238927-Final-resized-9b705f3d7fae4dbc911a8c217e294f70.png)
Materials:
- Distilled white vinegar
- Mild soap or detergent
- Hot water
- Spray bottle
- Sponge or soft cloth
- Old newspaper or paper towels
- Fresh bedding material (wood shavings or paper-based)
- Waste disposal bags
- Protective gloves
- Mask (optional)
Tools:
- Small pet-safe brush
- Dustpan and brush
- Vacuum cleaner (optional)
Steps for Cleaning a Hamster Cage

Step 1: Prepare the Cleaning Solution
The first step in cleaning your hamster's cage is to prepare a cleaning solution. In a spray bottle, mix equal parts of distilled white vinegar and hot water. You can also add a few drops of mild soap or detergent for extra cleaning power. If you choose to use soap, make sure it is pet-safe and free of any harsh chemicals.
Step 2: Remove Your Hamster from the Cage
Before you begin cleaning, it's essential to remove your hamster from the cage. Place them in a safe and secure area, such as a playpen or a small travel carrier. This step is crucial to ensure that your hamster does not get injured or escape while you are cleaning their living space.
Step 3: Dispose of Waste Material
Using gloves, remove any leftover food, soiled bedding, and other waste materials from the cage. Place them in a waste disposal bag and dispose of them properly. It's essential to remove all waste material before starting the cleaning process to avoid spreading bacteria or odors.
Step 4: Remove and Wash Any Accessories
Next, remove any accessories or toys from the cage, such as water bottles, food bowls, or tunnels. Soak them in hot, soapy water for a few minutes, then scrub them with a small pet-safe brush. Rinse thoroughly and let them air dry before placing them back in the cage.
Step 5: Wipe Down the Cage Walls and Floor
Spray the cleaning solution onto a sponge or soft cloth and wipe down the cage walls and floor. Pay extra attention to any stubborn stains or build-up. If necessary, use a small pet-safe brush to scrub the areas gently. Rinse the sponge or cloth regularly to avoid spreading dirt around. Repeat this step until all surfaces are clean and free of residue.
Step 6: Disinfect the Cage
After cleaning, it's vital to disinfect the cage to kill any remaining bacteria or germs. You can use store-bought pet-safe disinfectants, but distilled white vinegar also does an excellent job. Dilute the vinegar with hot water and spray it evenly throughout the cage. Let it sit for a few minutes before wiping it down with a clean cloth or paper towels. Rinse the cage thoroughly with hot water to remove any leftover vinegar.
Step 7: Dry and Reassemble the Cage
Use old newspaper or paper towels to dry the cage's surfaces, including walls, floor, and accessories. Make sure the cage is completely dry before placing fresh bedding material and reassembling the cage. Avoid using a hairdryer or other heating devices as they can harm your hamster.
Step 8: Place Your Hamster Back in the Cage
Once the cage is fully assembled and the bedding material is placed, you can return your hamster to their living space. Make sure they have access to food, water, and clean bedding material.
Frequently Asked Questions about Cleaning a Hamster Cage

What is the recommended frequency for cleaning a hamster cage?
It is recommended to clean a hamster cage at least once a week. However, if you have multiple hamsters or a larger cage, you may need to clean it more often.
Do I need to clean the cage completely every time?
No, it's not necessary to do a deep clean every time. Spot cleaning can be done in between regular cleanings. Spot cleaning involves removing any waste or soiled areas and replacing them with fresh bedding material.
Can I use household cleaners to clean my hamster's cage?
No, it's best to avoid using household cleaners as they may contain harmful chemicals that can harm your hamster. Stick to pet-safe cleaning products or natural alternatives, such as distilled white vinegar.
How can I prevent odors from building up in my hamster's cage?
Regular cleaning and spot cleaning can help prevent odors from building up in your hamster's cage. Additionally, make sure to remove any uneaten food and replace it with fresh food regularly.
Can I use a vacuum cleaner to clean my hamster's cage?
It's best to avoid using a vacuum cleaner inside your hamster's cage as it can scare, stress, or harm your hamster. If necessary, use a small hand-held vacuum or dustpan and brush to remove any debris.
Conclusion

Keeping your hamster's cage clean plays an integral role in their overall health and well-being. By following the steps mentioned above and regularly cleaning your hamster's cage, you can ensure a safe and hygienic living space for your furry friend. Remember to involve your hamster in the cleaning process by providing them with a safe and secure area while you clean. This will help reduce their stress and make the process more manageable for both you and your hamster.